Who wants to make some cheese? (ARE YOU GOODA WITH GOUDA?)

Little One

Chillin' with the herd
Joined
Nov 18, 2011
Messages
33
Reaction score
0
Points
27
Location
SE Virginia
Yay! I am taking notes. I won't be getting my first goat until next year, but I am so excited to make my own homemade cheese from real milk one day. :celebrate
 

Queen Mum

N.E.R.D.
Joined
Nov 1, 2009
Messages
3,416
Reaction score
297
Points
278
Location
Dardanelle, Arkansas
Did anyone try the sour cream? How did it turn out?

In the mean time... Here is some equipment you can make on your own to start out your cheese equipment stash...

You will need a cheese mold. They cost about $30 and can be bought at various cheese making supply stores like this one. The difference in price is that you have to pay shipping.

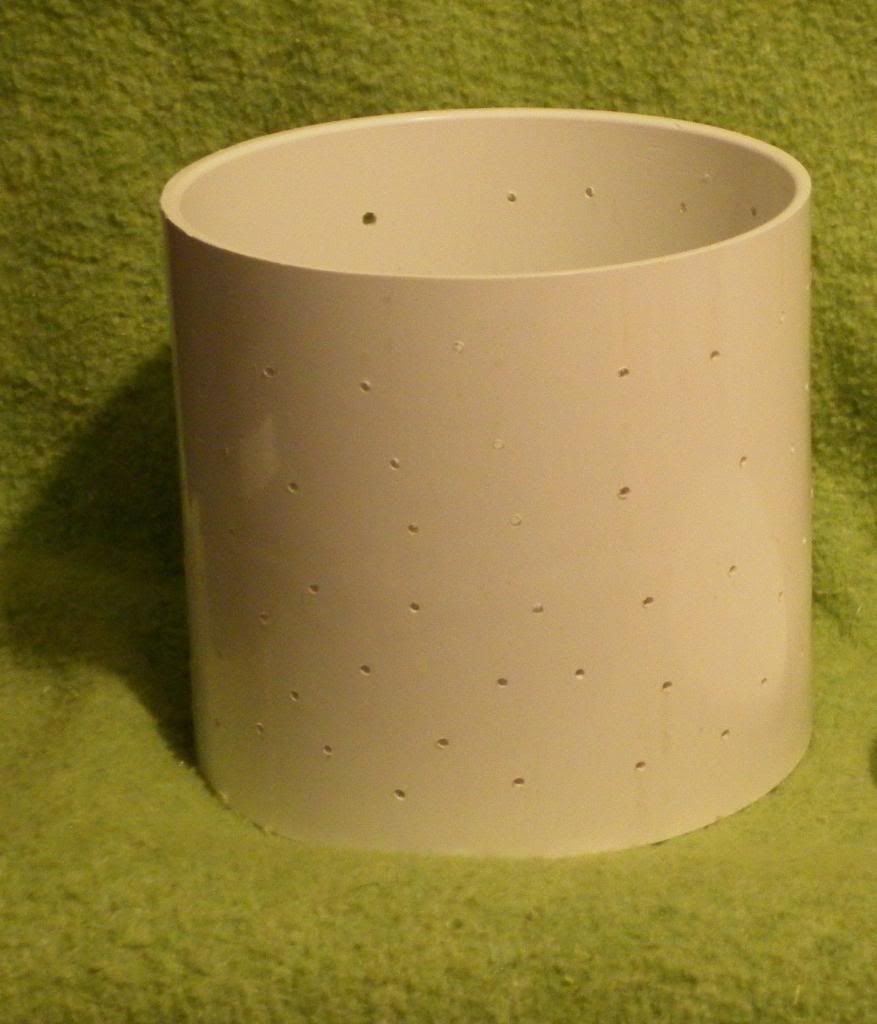
I have one of those, but I had to leave it behind when my trailer broke down on my way to Texas. SO I went to the hardware store and bought a piece of PVC connector pipe. The six inch size is good for making a 5 gallon batch of cheese (5 pounds). The four inch size will work for about a 2 gallon batch.

I drilled a bunch of holes in the side and ground out the middle ridge on the inside. You can buy one that is called a NO STOP connector and you won't have to grind out the middle, but they didn't have one at our local hardware store.

Here is the end result...

Cheesemold.jpg


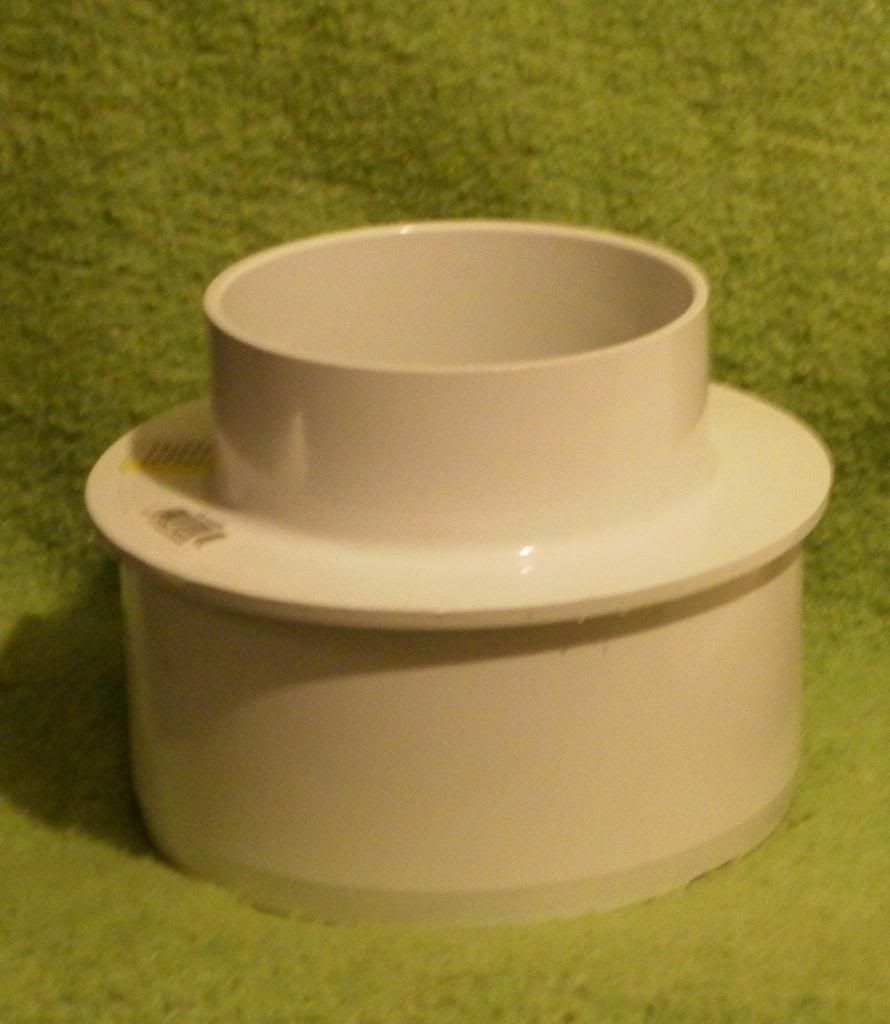
I bought a top to use as a follower, (that is the thing that you put on top to squish the cheese down.)

Followerstop.jpg


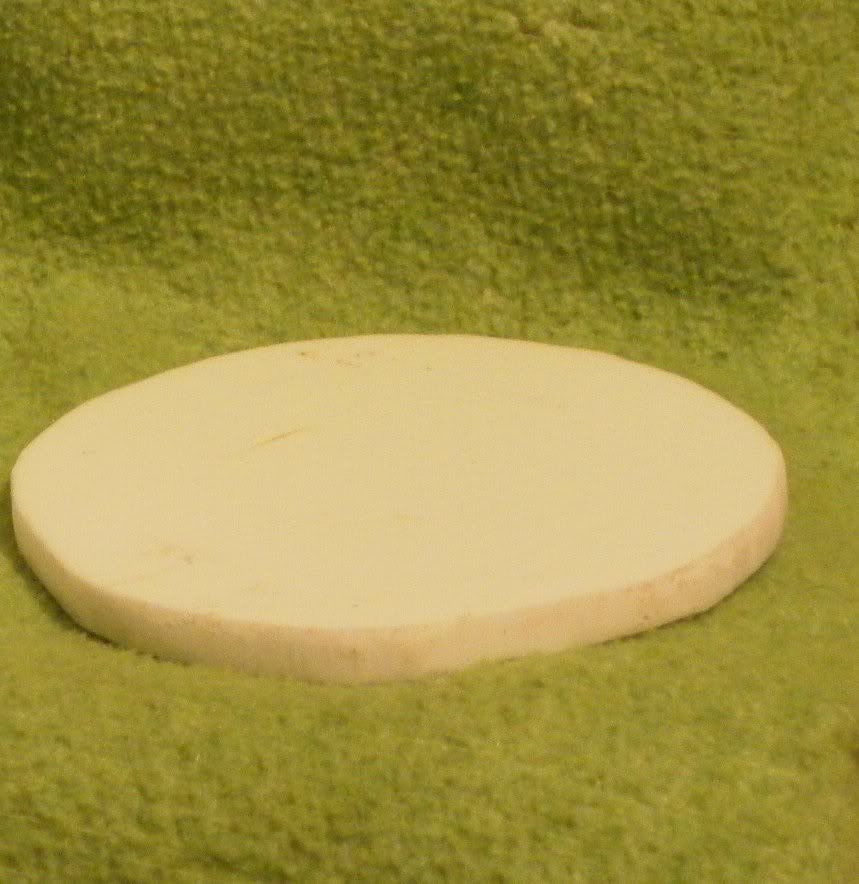
and a piece of plexiglass which I cut out in a round'ish shape to press the cheese curds down. (it goes inside the mold)

follower.jpg


A 6 lb 9 or 10 oz can of fruit or hominy will work just as well.

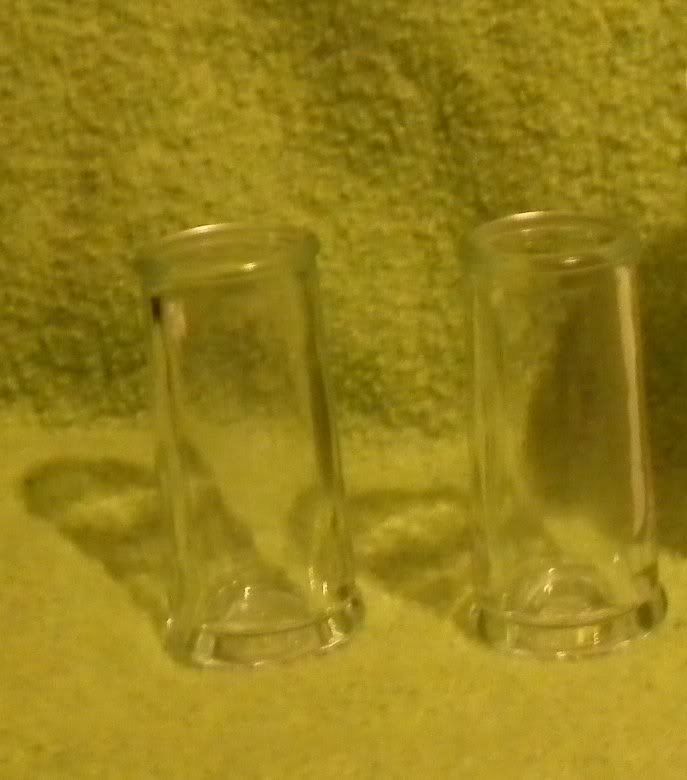
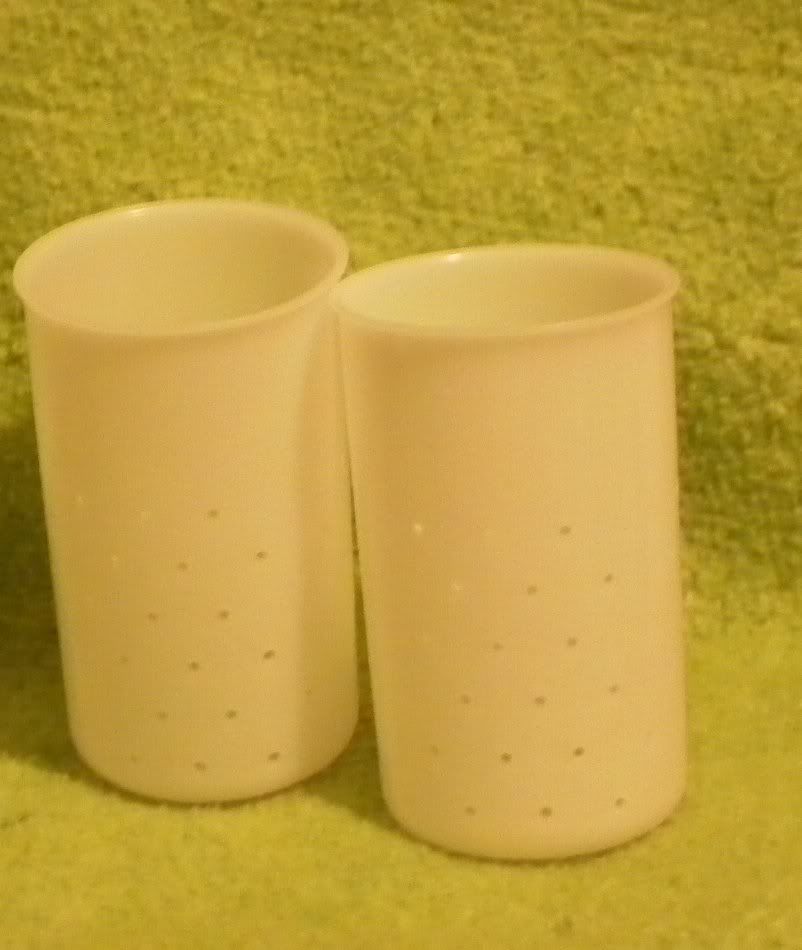
I got some little glass cups to use for mixing rennet and cultures with. They hold about 1/3 cup of water and I can see through them to be sure my stuff is dissolved. These came from the thrift store for 10 cents.

cultureglasses.jpg


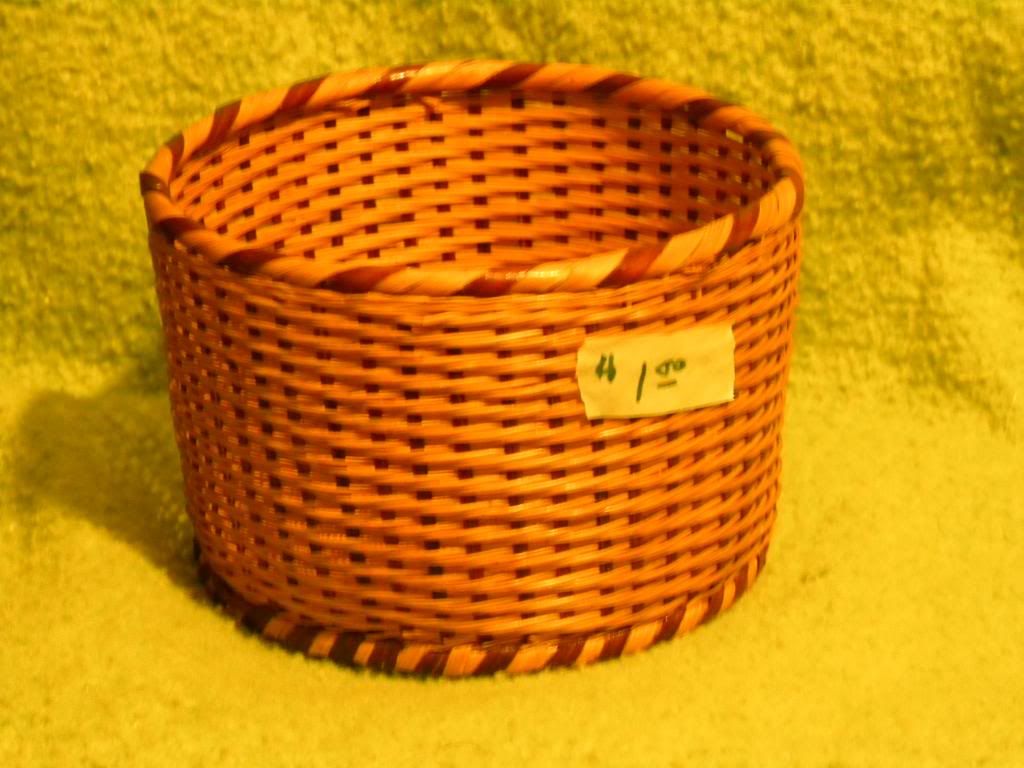
Some cheese is molded in baskets. You can get nice tightly woven baskets at the thrift store as well. About 6 inches across. They need to be clean and bamboo or hickory are good because you can wash them and they won't lose shape. Pretty patterns on the inside make for nice cheese. This one has a dollar price tag on it, but I got it for 25 cents.

basketmold.jpg


And then of course there is a cheese press. I started out using a pan and books. What a headache. You have to get it perfectly balanced. Then I used milk crates filled with books, but it still fell over on my foot once in a while.

You may start out with 25 pounds and then you have to turn the cheese after an hour and then increase the weight. Sometimes up to 200 pounds. Well, try balancing 200 pounds on top of a couple milk crates on top of a six inch piece of PVC pipe.

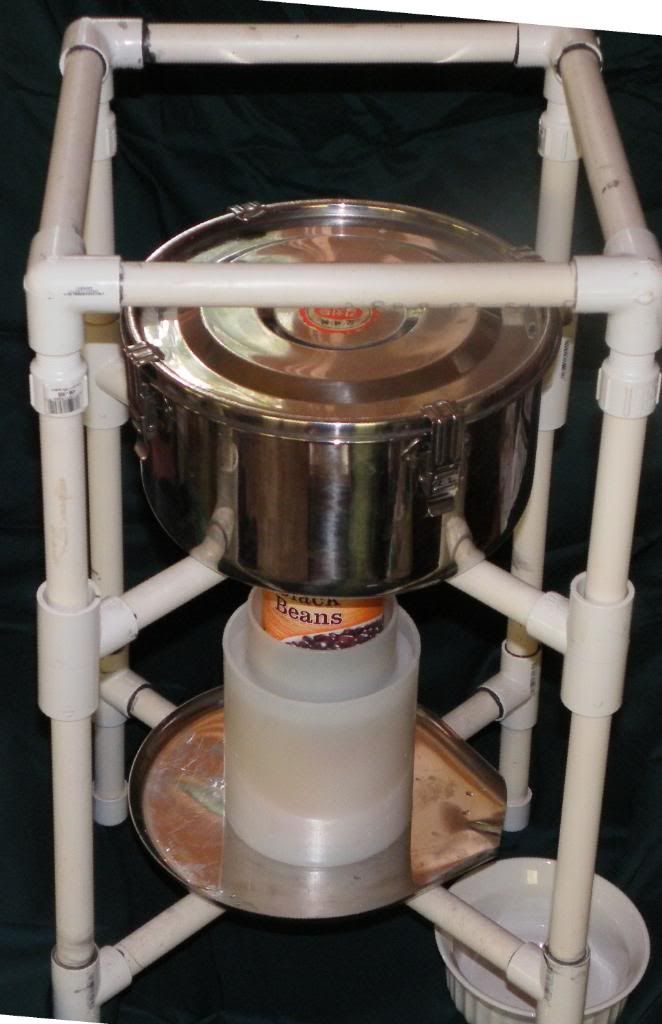
So I built my own Cheese press and it works pretty well.

Cheesepress6.jpg


This one is PVC pipe. I also have a heavy duty one made of galvanized pipe and the pipe is only 1/4 inch. BUT, I can put a weight bar (like you get at the gym) and add up to 300 pounds of weights to it. I got the weights at garage sales. Usually for about 50 cents each.

Most cheese only takes about 50 pounds. That is 5 of those 10 pound weights. The PVC press holds them quite well.

I modified my design from this picture to add a board under the drain tray and one on top of the press so that the weights sit right on the board. It is very well balanced.

On the galvanized press (I don't have a picture) the bar bell is bolted to the board so it doesn't roll off and I just add the weights one at a time.

You can also buy molds like these french molds for soft cheese.

frenchmolds.jpg


And the drain tray on the bottom of the cheese press is a must. It is the one purchase worth the expense.
 

daisychick

Overrun with beasties
Joined
Aug 22, 2011
Messages
1,623
Reaction score
3
Points
94
Location
Colorado
Ughhh I was so busy buying all my Thanksgiving dinner supplies and stuff to make that pumpkin cheesecake recipe that Marlowmanor posted, I forgot my sour cream supplies. :hide Maybe I can get it tomorrow because I want to make it this week so I can keep up with all the lessons.
 

Queen Mum

N.E.R.D.
Joined
Nov 1, 2009
Messages
3,416
Reaction score
297
Points
278
Location
Dardanelle, Arkansas
No problem. That pumpkin cheesecake is GOOD. I made it and was very delighted with the results. Hope everyone has a great Thanksgiving. I am thankful for cheese.
 

marlowmanor

New Member
Joined
Aug 8, 2011
Messages
3,455
Reaction score
0
Points
0
Queen Mum said:
No problem. That pumpkin cheesecake is GOOD. I made it and was very delighted with the results. Hope everyone has a great Thanksgiving. I am thankful for cheese.
Glad you liked the pumpkin cheesecake!
 

Queen Mum

N.E.R.D.
Joined
Nov 1, 2009
Messages
3,416
Reaction score
297
Points
278
Location
Dardanelle, Arkansas
OK, OK, so I have been 'AWAY' for a while. But lets' get back on track. If you didn't make the sour cream, that's OK. Let's try Yogurt. It's not that hard, but you might have tried it before and felt like it came out too thin.

The keys to good yogurt are consistent temperature, FRESH MILK and patience. A little secret is to use a bit of powdered milk with your regular milk. It makes for at thicker yogurt.

Any live yogurt culture will work. SO that expensive greek yogurt that you have been buying can be made much more cheaply at home with your fresh milk!

The equipment needed is

EITHER
A mason jar
Lots of towels
A cooler or a foam box OR a cardboard box and a blanket

OR a wide mouth thermos

AND
the usual thermometer
stainless steel pan
Measuring cups (preferably glass)


Ingredients

FRESH or frozen milk - raw or pastuerized (not ultra-pasteurized)
1/4 cup powdered milk (I prefer the kind that is whole milk. And you can buy goats milk powder if you are using goats milk)
1/3 cup live culture yogurt from the grocery store OR a packet of purchased yogurt culture like Y-1 or Y-5 from cheesemaking.com

Heat 1 quart pasteurized milk to to 180 degrees F. Cool to 116 degrees F. Mix in cup powdered milk. Pour into jar or thermos. Add 1/3 cup yogurt and stir well. Cover the jar with a lid. If you are using a mason jar, wrap it in towels and put it in a foam cooler or a cardboard box. Cover the box or cooler with a blanket. If you are using a thermos, close it tightly and wrap it with a towel.

Let the yogurt set in warm place undisturbed for 12 hours until thickened to desired consistency. Refrigerate and scarf it all down at your leisure.

Whether you are using yogurt from the grocery store or a culture from a website, it is simple to make. You can freeze your yogurt in ice cube trays and make more by thawing a cube and making a new quart of it.

Next week... Feta cheese.... my favorite.
 

Queen Mum

N.E.R.D.
Joined
Nov 1, 2009
Messages
3,416
Reaction score
297
Points
278
Location
Dardanelle, Arkansas
BTW

If you want a substitute for sour cream, Try putting your greek yogurt in some fine cheese cloth and draining out the whey for about two hours. Viola! Instant thick sour cream with almost no calories. And feed the whey to the dogs. They will lap it up. It has lots of protein.
 
Top